|
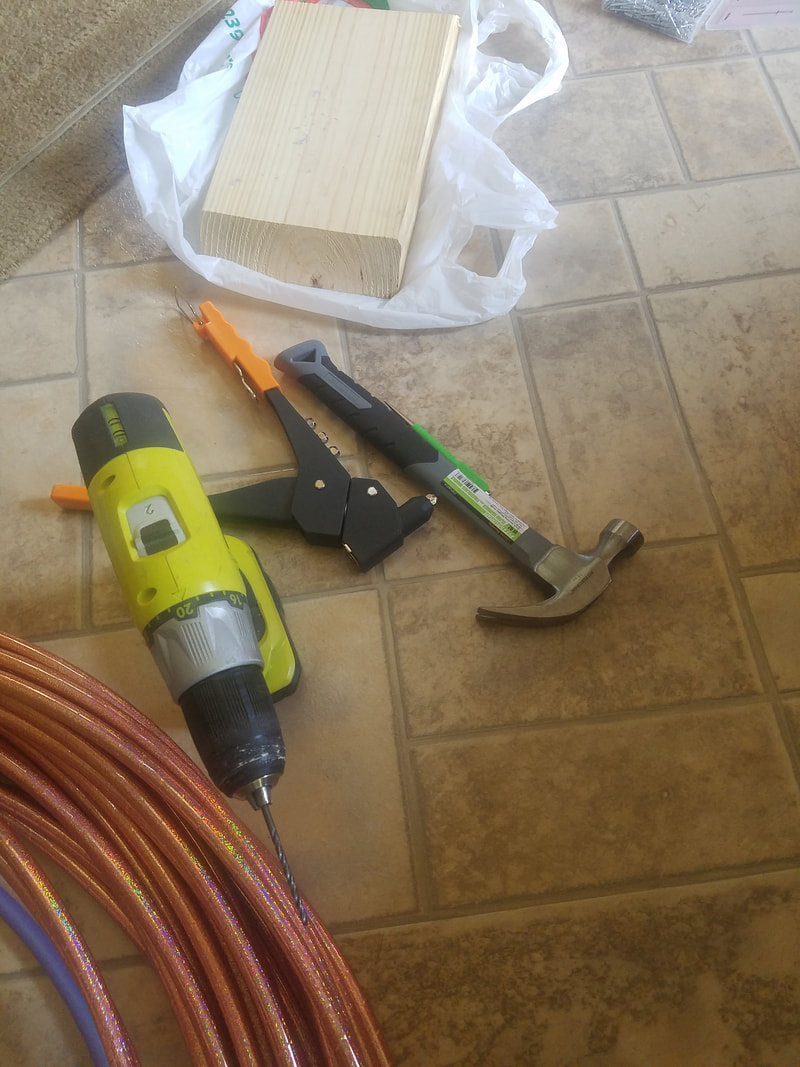
Two months of labor (adding up to about 30hrs total) and $300 later, my handmade hula slinky is complete! This was the process... 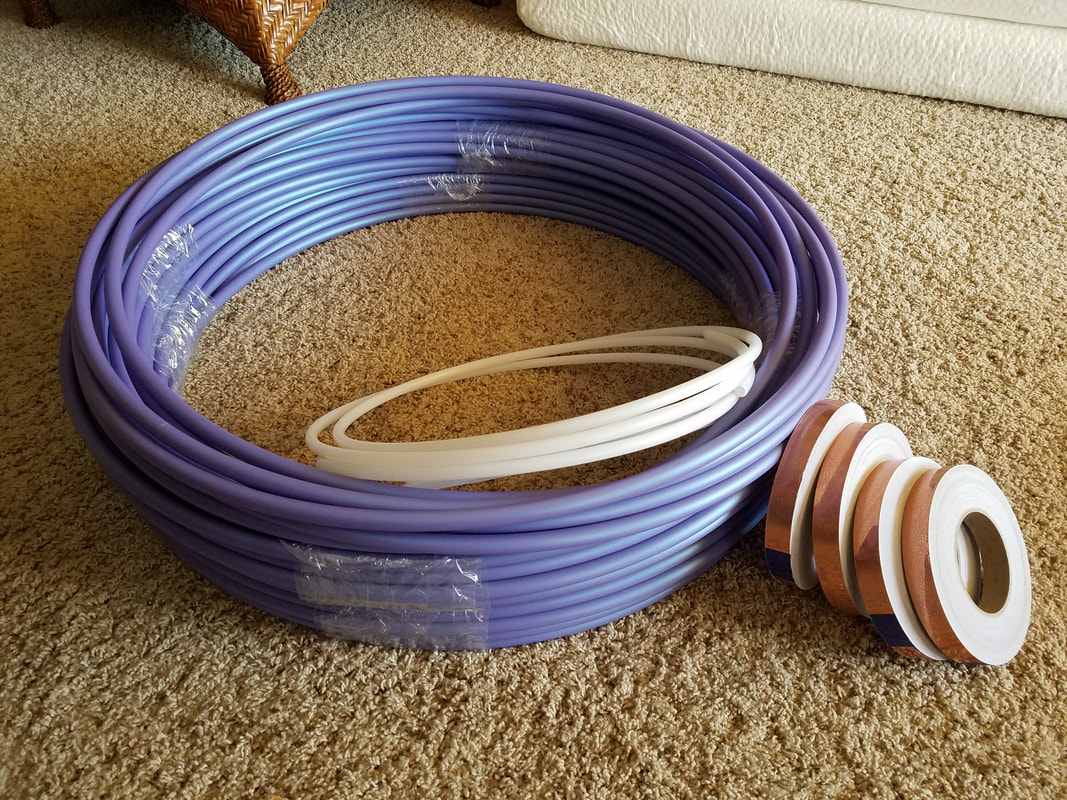 Raw materials: 250-ft of 1/2-in polypro tubing, 20-ft of insert material, 4 rolls of 3/4-in copper glitter tape. Initial hoop construction took around four hours, and consisted of measuring out and cutting the polypro material (based on the diameter I wanted my hoops to be... in my case, 33in around) and cutting the insert material, then making circles by connecting the tubing ends around the insert material.
Taping the hoops was by far the longest part of the process! I started while at home, but finished the taping while on tour, so that also meant that I wasn't able to devote as much time to it as I would have liked. It was very tedious, but definitely worth the effort because they look gorgeous and really catch the light! 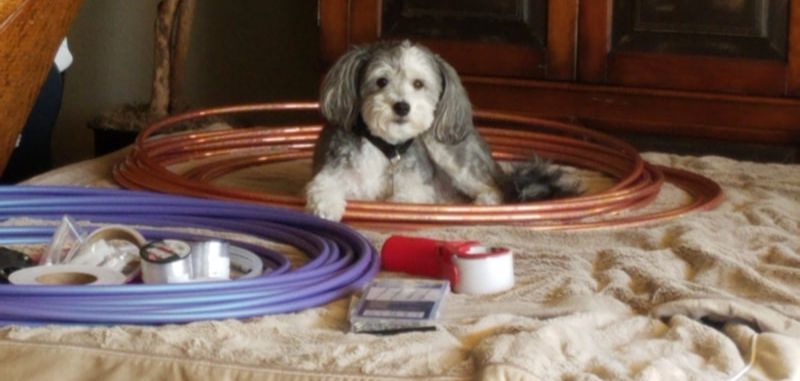 My sister's dog, Rev, was a big help during the process! Next to do was to rivet each hoop to hold it together. Using a drill bit the same diameter as the rivets I purchased, I made a hole on either side of the seam. I then placed the rivet inside and used a riveter to clip it in place. The first riveter I bought wound up breaking, and so pretty early on in this stage I bought a second from Harbor Freight, and it's amazing. This process probably took around 3 or 4 hours. I was definitely taking my time here, as it was my first time riveting anything, and I was so nervous to mess it up! (Especially after all the time I had put in just to tape the hoops!)
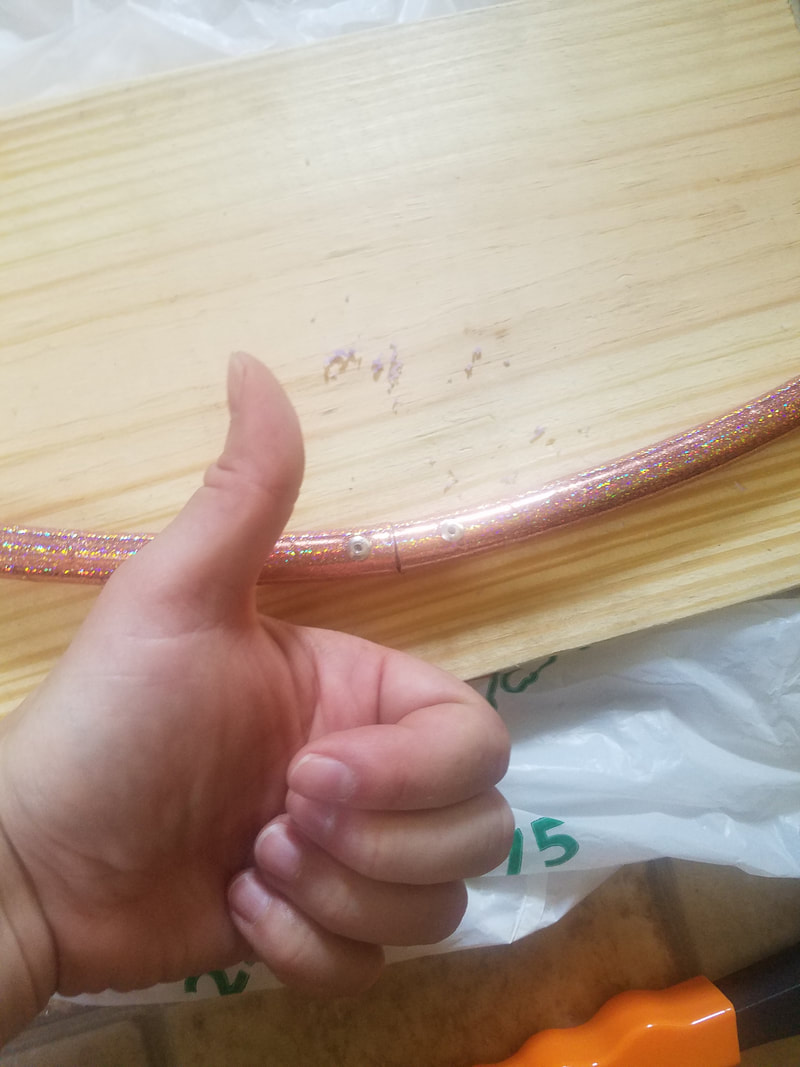
The last step was to drill four, evenly spaced, really tiny holes in each hoop and tie clear fishing line through the holes. I was really dreading the part because I thought it was going to be the most challenging and tedious, but actually only wound up taking around 5-hours. I made knots on each side of each hoop, and spaced each hoop around 2-3 inches apart. The hardest part was getting the fishing line through the holes, as I drilled some better than others. (But I found a few tricks to help me on the way!) And although I had made 28 hoops total, only 25 hoops made it into the slinky. I am so very proud of the final product, and am no longer scared to try it again! (The hoop-making process, that is.) I'm also really proud of myself for just doing it! I learned a lot in the process: about tools, about starting holes, about purchasing correct products. But now I feel so accomplished! I'm really grateful to now have this finale for my hula act, and hope the audience appreciates the slinky for what it is! Two months of time and $300 in materials and supplies for a 30-second visual! So. Worth. It. Hoop tubing and tape were purchased from Hoopologie.com. The drill was borrowed from my father, the rivets and riveter were from Harbor Freight. Fishing line was purchased at Walmart.
0 Comments
Leave a Reply. |
Brittany Sparklestravelling circus performer, trying to make adventures out of every-day life! Archives
February 2018
Categories |

 RSS Feed